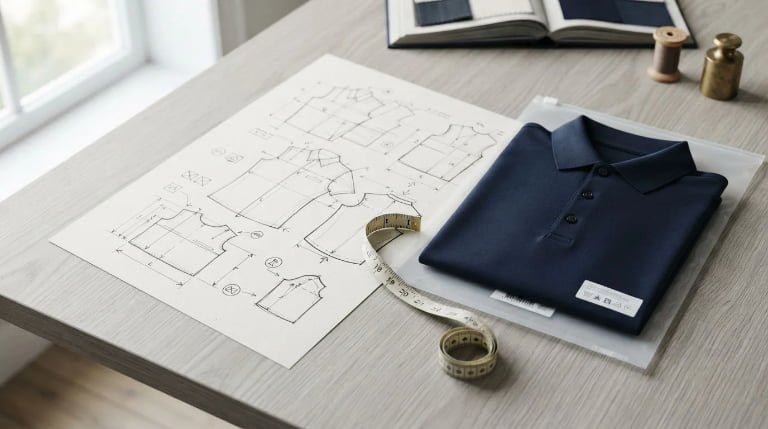
Common golf pants manufacturing defects include open or puckered seams, panel shade differences, twisted legs, incorrect measurements, faulty waistbands, and zipper or pocket problems. Other failures—such as excessive shrinkage, pilling, or poor stretch recovery—may only become apparent after testing or wear.
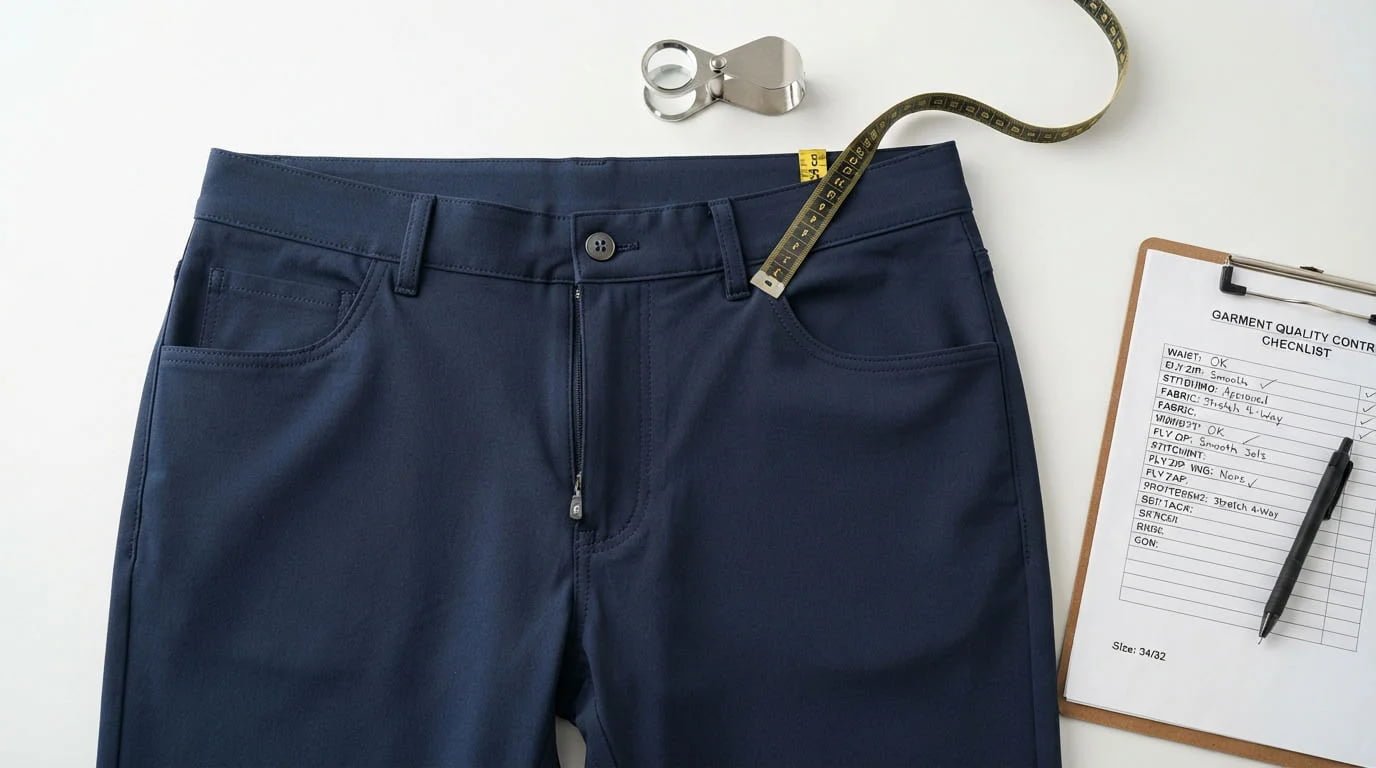
For apparel brands, identifying the defect is the starting point. The next steps are to compare it with the approved specification, establish which goods may be affected, and verify the corrective action.
This guide focuses on stretch woven golf trousers. Knitted golf joggers may require different construction checks and test methods.
Quick Reference: Golf Pants Defects and Where to Check
Use this table to guide investigation. The possible causes are diagnostic leads, not proof of responsibility.
| Defect | What You May Notice | Areas to Investigate | Useful Checkpoint |
|---|---|---|---|
| Open or broken seams | Gaps, snapped thread, unraveling | Stitch formation, seam allowance, thread and fabric compatibility | First production output and inline QC |
| Seam slippage | Fabric opens beside intact stitching | Fabric yarn movement, seam construction and allowance | Development testing and production verification |
| Seam or zipper puckering | Ripples around the fly, seams or waistband | Feeding, tension, component compatibility | Sewing trials and post-wash review |
| Panel shading | One leg, pocket or waistband differs in color | Roll shading, shade grouping, cutting records | Before cutting and after assembly |
| Twisted or uneven legs | Side seams rotate; hems sit unevenly | Grain alignment, fabric distortion, cutting and assembly | Panel inspection and finished-garment review |
| Incorrect measurements | Waist, rise or inseam outside specification | Pattern version, relaxation, seam allowances, finishing | Size-set approval and inline measurement |
| Waistband or pocket distortion | Rolling, gaping, poor recovery or uneven openings | Pattern, elastic, interlining and attachment | Sampling and early production |
| Wash or surface failure | Shrinkage, pilling, bagging or decoration damage | Material selection, finishing and care compatibility | Agreed fabric and garment tests |
A defect can have more than one cause. Finding a sewing symptom does not automatically establish that the sewing operation created the problem.
Stitching and Seam Defects
Inspect the seat seam, crotch junction, pocket corners, belt loops, waistband attachment and hems. Compare construction with the approved specification and check performance where required.
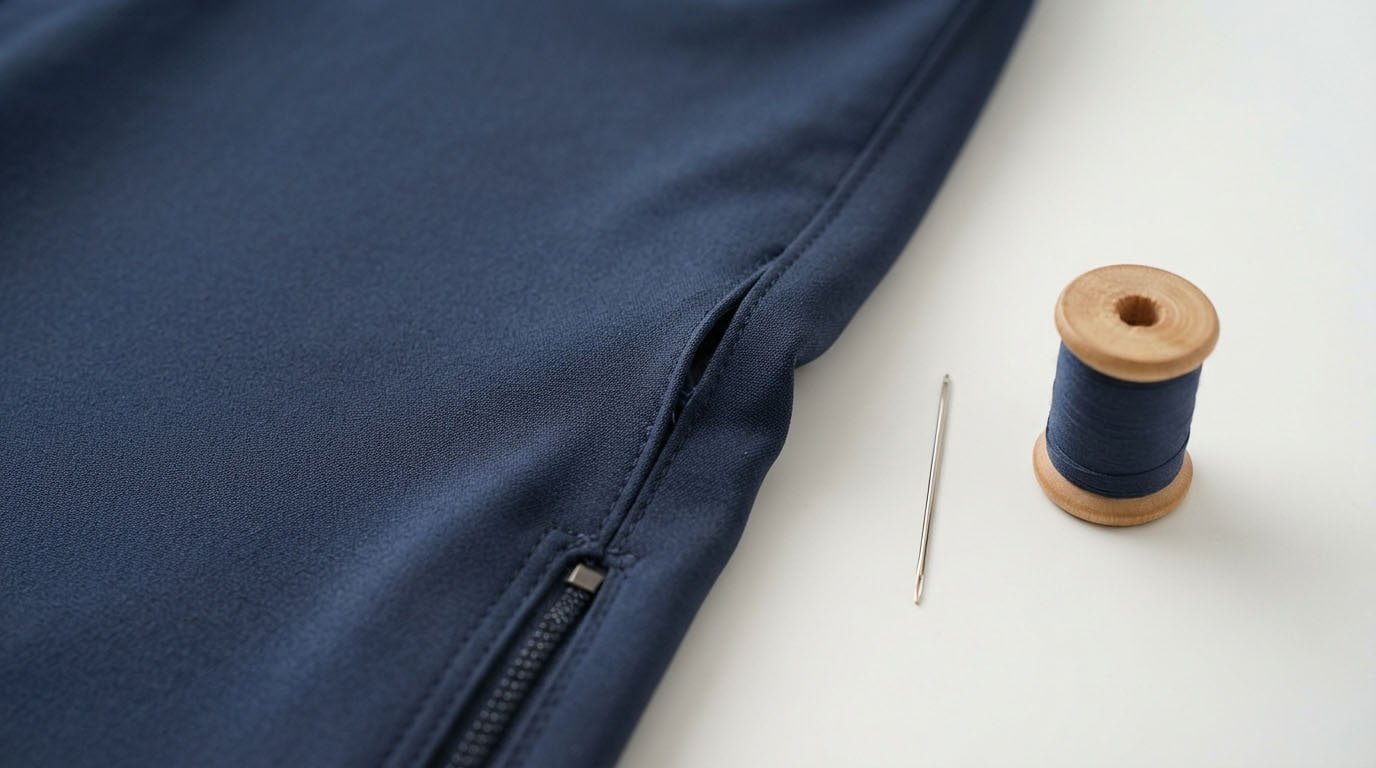
Broken Stitches, Skipped Stitches and Open Seams
These findings require different checks:
- Broken stitches: Sewing thread has snapped.
- Skipped stitches: Intended stitches have not formed correctly.
- Open seams: Joined panels have separated or were not fully secured.
Check whether the problem is isolated or repeats at the same operation. Recurring failures should trigger a review of machine settings, needle condition, seam allowance, stitch formation and the selected thread.
A tidy seam is not sufficient evidence of strength. Likewise, copying the approved stitch density does not prove that the bulk seam has adequate extension.
Do not assume one stitch type will always succeed or fail. The complete combination of stitch, thread, fabric and machine settings must suit the intended movement.
Seam Slippage Versus Thread Breakage
With seam slippage, fabric yarns move apart near the stitching while the sewing thread may remain intact. This differs from a seam where the thread breaks. AMANN’s technical explanation of seam slippage illustrates the distinction. AMANN
Photograph the affected area closely enough to show whether the thread, fabric or both have failed. Review fabric slip resistance and seam construction before choosing a repair.
An informal hand pull can reveal an obvious weakness, but it does not replace a specified seam test with defined conditions and acceptance limits.
Seam Puckering and Wavy Zipper Flies
Look for rippling along the fly, side seams, waistband and pocket welts. Compare the garment before and after the agreed care procedure.
Investigate:
- Uneven feeding between fabric layers.
- Unsuitable thread tension or needle and thread size.
- Components that shrink or recover differently.
- Stretch introduced during sewing.
- Fusing or pressing conditions.
Approve a corrected trial before continuing the affected operation. Pressing a seam flat is not enough if the distortion returns after washing.
Fabric, Shade and Surface Problems
Material checks should begin before cutting, but finished garments still need review. Sewing, pressing and decoration can introduce damage after incoming fabric inspection.
Shade Differences Between Panels
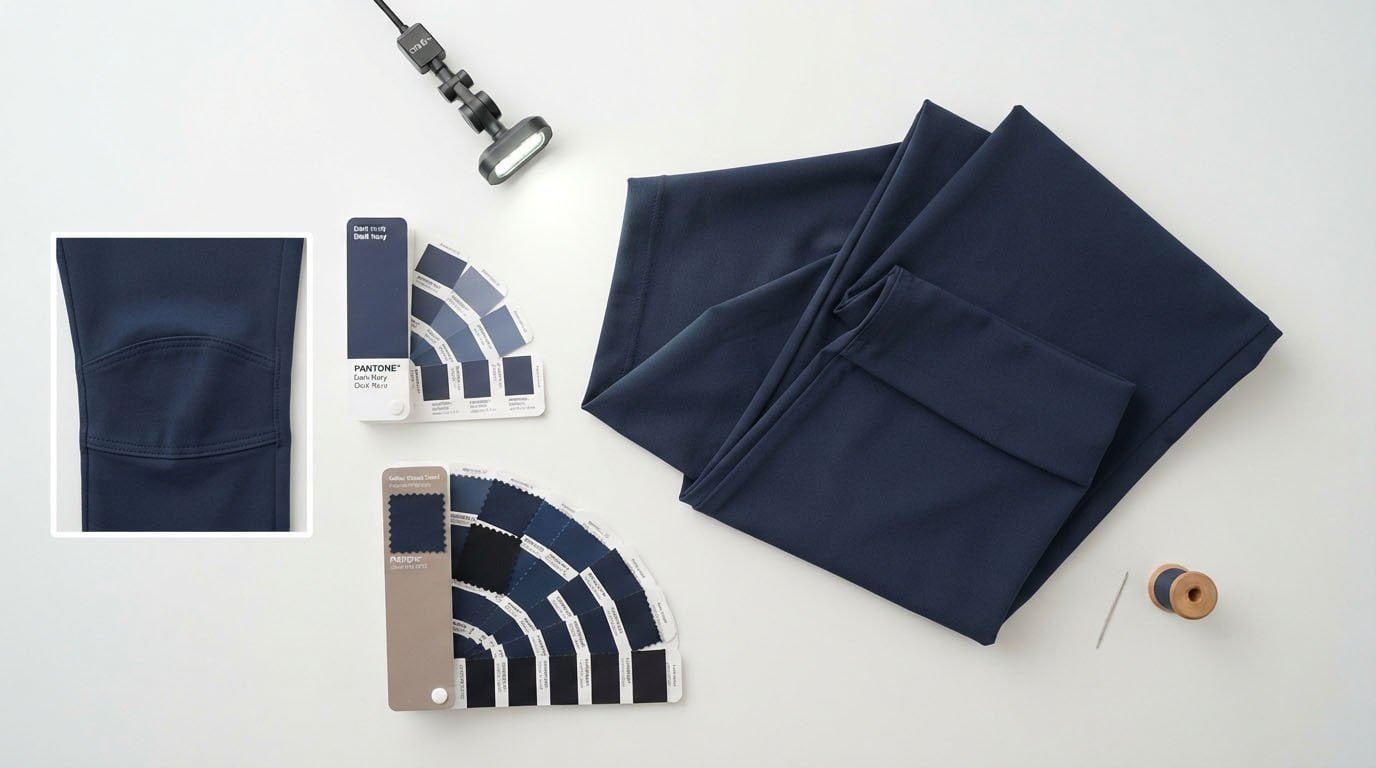
Compare the legs, waistband, belt loops and pockets with the approved physical color reference under agreed lighting.
Record whether the difference occurs:
- Within one garment.
- Between garments from different rolls.
- Across separate production or dye lots.
Keep shade grouping and cutting records traceable. A common dye-lot number alone does not establish that all panels will match.
Photographs can document the location of a mismatch, but camera exposure and screens make them unsuitable as the sole color acceptance reference.
Pilling, Snags and Poor Recovery
Pilling and snagging can reflect material selection, fabric construction, finishing or damage during handling. A visible snag should be traced to determine when it appeared.
For stretch recovery, check whether the knees, seat and waistband return to the approved shape after the agreed assessment procedure. Stretch percentage and recovery are separate properties: fabric can stretch easily yet retain unwanted deformation.
Use relevant test results to evaluate disputed performance. Do not substitute a supplier’s general description of “premium stretch fabric” for a defined requirement.
Excessive Shrinkage or Growth
Finished dimensions before washing and dimensional change after washing are separate acceptance checks.
Agree the washing procedure, drying method, number of cycles, measurement conditions and limits before testing. Do not apply one shrinkage percentage to every stretch woven trouser and knitted jogger.
Also check component compatibility. The shell may remain stable while pocket bags, interlining or waistband components distort the garment.
Fit, Measurement and Leg Alignment Problems
A garment can match its size chart yet fail the approved fit or movement requirement. Conversely, a fit preference does not automatically establish a manufacturing defect.
Measurements Outside the Approved Specification
Check the specified points of measure, including waist, hip, thigh, front and back rise, inseam and leg opening.
Use the same measuring instructions as the approved tech pack. Define whether waist measurements are relaxed or extended, where hip and thigh measurements are taken, and how rise is measured.
At FUWAY, all designated finished-garment POMs must remain within ±1.0 cm of the approved target. If the approved tech pack specifies tighter tolerances, those tighter limits apply.
For example, an illustrative half-waist target of 42.0 cm with a ±1.0 cm tolerance gives a measurement range of 41.0–43.0 cm. This does not establish the target for any particular labeled size or confirm that the garment passes every other requirement.
See our golf apparel measurement tolerance guide for the broader measurement framework.
Twisted Legs and Uneven Hems
Lay both legs naturally without forcing the seams into position. Compare alignment, leg lengths and hem balance, then repeat relevant checks after the agreed wash procedure.
Possible causes include fabric skew, incorrect grain alignment, panel mismatch and uneven assembly. A twisted leg does not prove a specific cutting angle or deliberate fabric-saving practice.
If the problem appears mainly after washing, review fabric stability as well as cutting and sewing records.
Crotch Pulling and Restricted Movement
Review the trousers on the intended fit model during standing, sitting, bending and a golf stance.
Pulling around the crotch can involve ease, rise shape, seat or thigh dimensions, material behavior, or assembly. A wrinkle pattern alone is not enough to identify one cause.
If the approved sample already has the same restriction, revisit product development. If only bulk garments show it, compare materials, measurements and construction with the approved baseline.
For fit evaluation, see how golf pants should fit.
Waistband, Zipper and Pocket Construction Defects
These features need functional checks as well as visual inspection.
| Area | Check | Investigate If It Fails |
|---|---|---|
| Waistband | Alignment, rolling, attachment and specified recovery | Pattern, interlining, elastic and sewing tension |
| Fly and zipper | Smooth operation, secure attachment and fabric clearance | Zipper specification, placement and assembly |
| Belt loops | Position, consistency and secure attachment | Loop length, attachment and reinforcement |
| Front pockets | Opening shape, depth and agreed carrying function | Pocket pattern, bag material and attachment |
| Back welt pockets | Symmetry, opening condition and secure corners | Cutting, folding, stitching and reinforcement |
A waistband that gaps during wear may reflect fit design, component behavior or production execution. Not every golf trouser requires the same waistband construction.
For light-colored trousers, compare pocket-bag visibility with the approved garment under agreed lighting and wearing conditions. Define acceptable show-through during development rather than after bulk production.
A zipper that cannot operate or a pocket that is accidentally sewn closed requires action even if the surrounding stitching looks neat.
Finishing and Decoration Defects
Inspect for oil stains, holes, needle damage, pressing shine, unwanted creases, loose threads and damage to logos.
For heat transfers or embroidery, compare placement, dimensions, color and appearance with the approved reference. Apply the agreed wash or stretch checks where relevant.
Distinguish removable finishing issues from permanent damage. Trimming an isolated thread tail may be straightforward; needle holes, heat damage or removed decoration can remain visible.
Trial the proposed correction on an affected garment before applying it across the batch. Recheck appearance, dimensions and relevant performance afterward.
How to Set Acceptance Rules and Handle Failed Goods
A defect list becomes useful when the buyer, factory and inspector can apply the same rule.
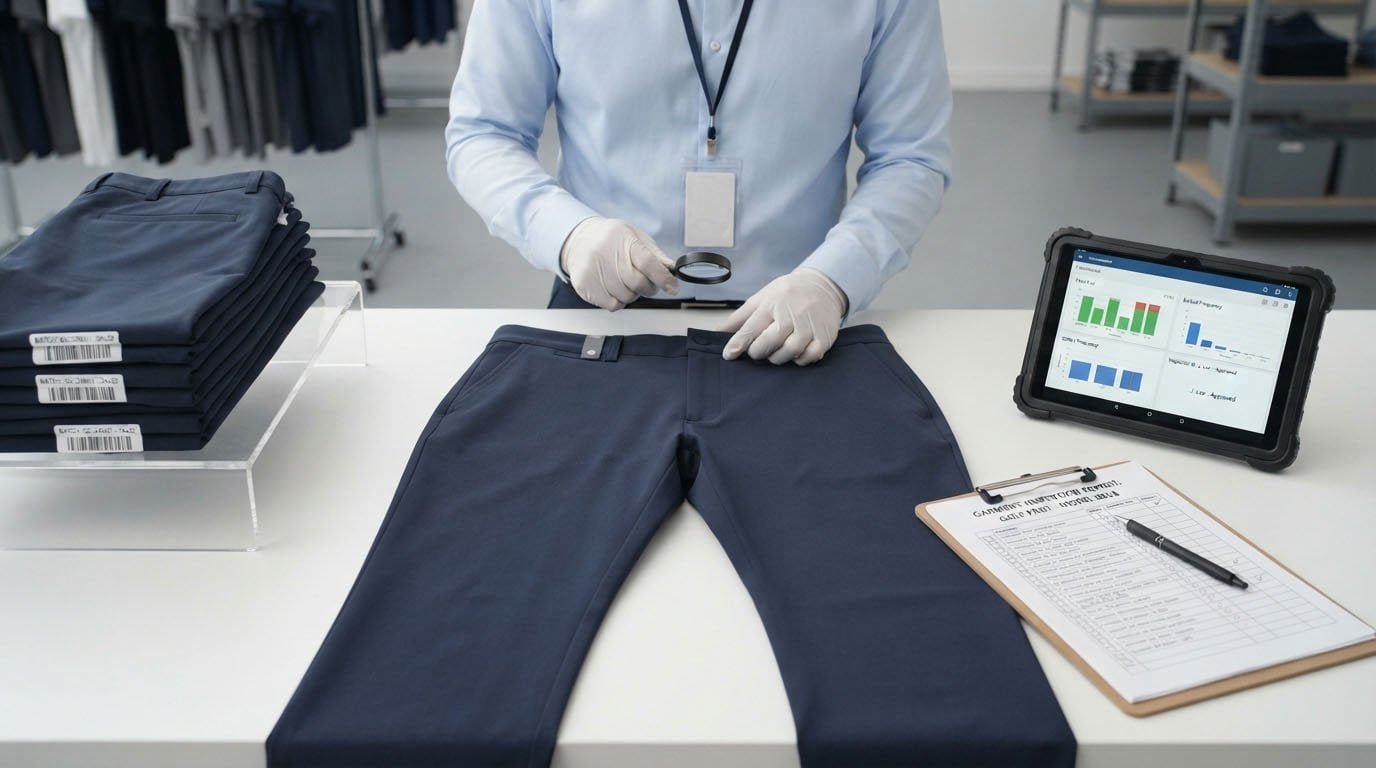
Define the Production Baseline
Confirm the current approved sample, tech pack, material and trim references, measurement instructions, visual standards, and required tests.
This is particularly important for waistband elastic, interlining, pocket bags and zippers. A garment can resemble the sample while using a component that changes fit or function.
For the wider approval process, see why bulk production may differ from the approved sample.
Separate Defect Severity From Lot Acceptance
Use an agreed classification guide. A sharp needle fragment is a safety concern requiring immediate escalation. An unusable zipper or open seat seam generally has a substantial functional impact. An isolated removable thread tail may have a smaller impact.
Location, extent and intended use matter. Wrong size labels require correction and scope assessment; they should not automatically receive the same classification as a sharp metal fragment.
For sampling, document the lot, standard and edition, inspection level, applicable plan, AQL settings and acceptance/rejection numbers. ISO 2859-1 provides an AQL-indexed acceptance sampling framework. AQL is not permission to knowingly ship defective pieces. iso.org
Keep the full sampling methodology in your inspection agreement. Our golf apparel quality control guide explains the broader system.
Contain, Correct and Verify
| Finding | Immediate Action | Evidence Needed Before Release |
|---|---|---|
| Isolated removable finishing issue | Separate and correct affected pieces | Confirmation that correction left no damage |
| Recurring seam or measurement failure | Hold affected output and trace the operation, size or batch | Corrected trial, sorting or rework records, and reinspection |
| Panel shade mismatch | Isolate affected shade groups and garments | Comparison with the approved shade reference and verification of the agreed remedy |
| Failed wash or performance result | Hold the relevant goods and investigate | Relevant retesting and documented disposition |
| Safety hazard | Stop release and escalate | Verified containment, investigation and clearance under the agreed safety procedure |
Do not remove only the defective pieces found in a sample and assume the rest of the lot is acceptable.
Record the style, color, size, production lot, affected location, photographs, specification deviation, corrective action and verification result. Review the affected production scope before authorizing release.
Frequently Asked Questions
Can a manufacturing defect be repaired without remaking the trousers?
Sometimes. Loose thread tails, certain sewing faults or incorrect labels may be correctable. Panel shading, permanent heat damage and badly cut panels may require replacement components or remaking. Verify the repair before accepting it.
Who is responsible when a material issue causes the failure?
The visible symptom alone does not settle responsibility. Review the approved material specification, purchasing responsibilities, relevant test results and any unauthorized changes. A material-related cause does not automatically remove the garment supplier’s obligations under the order agreement.
Are phone photographs enough to approve a defect?
They help identify location and extent, but may not establish color, texture, measurement or performance reliably. Use physical references, recorded measurements or relevant testing when the decision depends on those properties.
Should every size be checked when the sample size passes?
The approved sample size does not establish that grading is correct across the range. Plan size-set approval and production checks to cover the relevant sizes and risks. Define their scope separately from the visual sampling plan.
Conclusion
Controlling golf pants manufacturing defects requires a clear link between the observed problem, the approved requirement and the evidence needed to resolve it. Check seams, materials, dimensions and functional components, then trace recurring failures before they spread.
For your next custom golf bottoms project, share your tech pack, size range, intended fabric and known quality concerns with FUWAY. These details help establish the development and inspection requirements before bulk production begins.