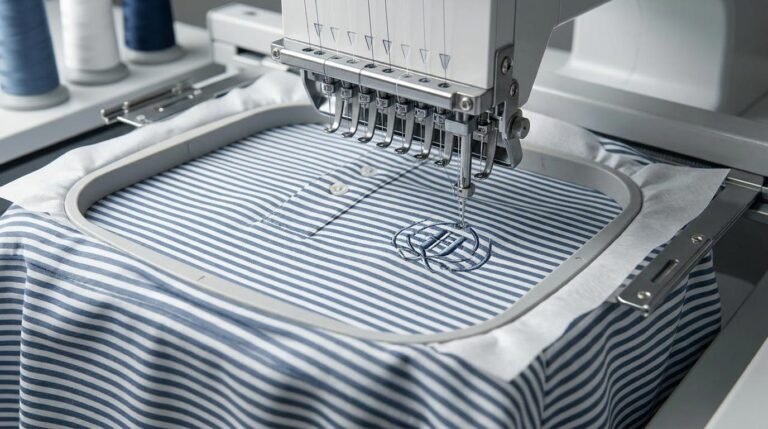
Creating a custom golf polo requires more than a design mockup. Before sampling, your manufacturer needs clear instructions covering fabric, fit, collar construction, measurements, and branding.
A golf polo tech pack turns your design into factory-ready specifications, reducing guesswork and unnecessary revisions.
Quick Answer: To create a golf polo tech pack, define your style and fit, prepare technical flats, specify fabrics, build a point-of-measurement (POM) chart, create a bill of materials (BOM), document construction details, add branding instructions, and review the completed file with your manufacturer.
This eight-step guide includes practical examples for brands developing custom golf polos.
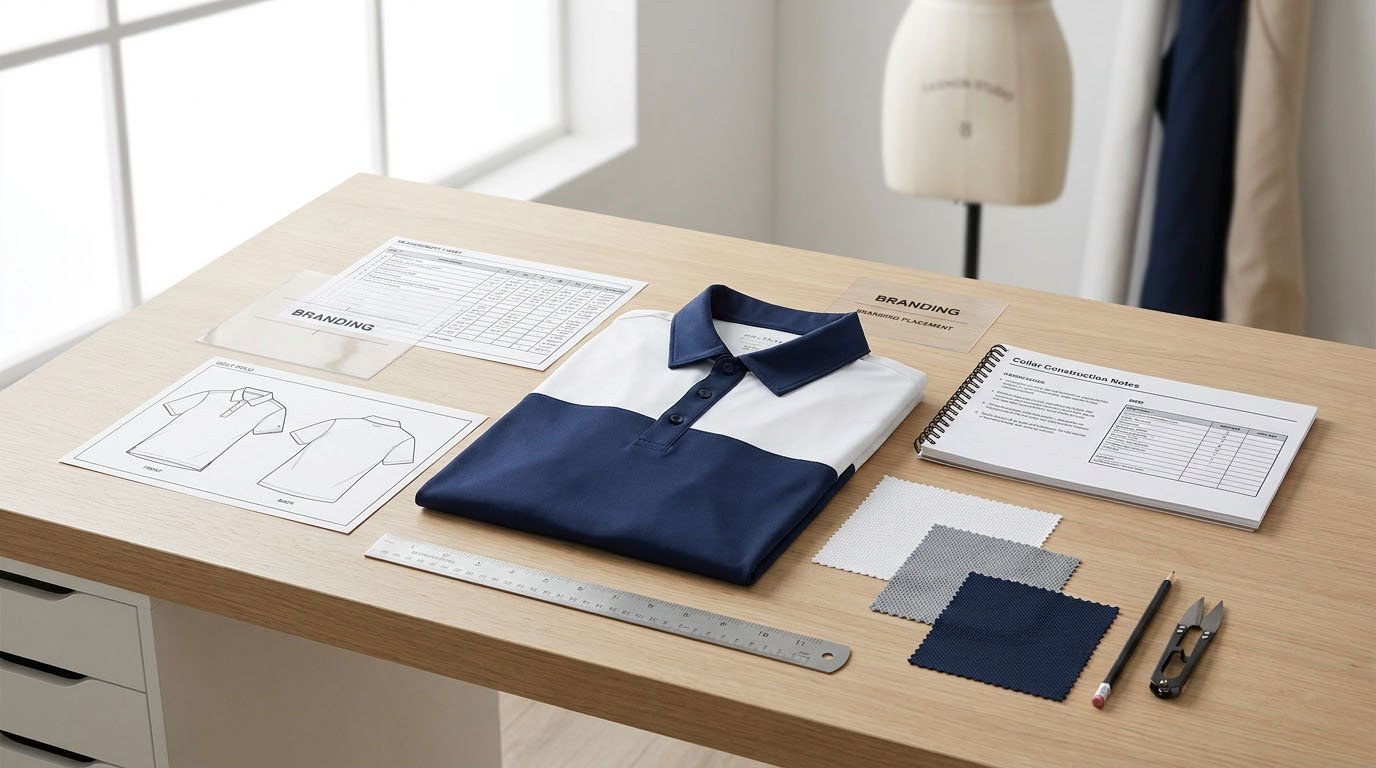
What Should You Prepare Before Creating a Golf Polo Tech Pack?
A tech pack documents the specifications a factory needs to develop and manufacture your design.
Before starting, gather:
- Front and back design references
- Target customer and intended fit
- Preferred fabric or reference swatch
- Base sample size and size range
- Logo artwork and color references
- Special collar, sleeve, or hem requirements
You can create an initial tech pack using Excel or Google Sheets with PDF technical drawings. Specialized apparel software is helpful but not essential.
The goal is to communicate your requirements clearly enough for the factory to review and develop the garment.
Step 1 – Define Your Golf Polo Style and Fit
Start with a style information sheet identifying the garment and its intended use.
| Field | Example |
|---|---|
| Style Name | Men's Performance Golf Polo |
| Style Code | GPO-001 |
| Fit | Regular Athletic Fit |
| Base Size | Men's M |
| Size Range | S–XXL |
| Sleeve | Short Sleeve |
| Collar | Self-Fabric Polo Collar |
| Placket | Three-Button Placket |
| Hem | Straight Hem With Side Vents |
All specifications in this guide are illustrative, not FUWAY's universal product specifications.
Define the Intended Fit
Specify whether your polo should have a slim, regular, or relaxed fit.
For golf apparel, consider shoulder mobility, chest ease, body length, and whether the garment will be worn tucked or untucked.
If possible, provide an existing polo that represents your target fit.
Factory tip: Confirm the intended fit before pattern development. Otherwise, the manufacturer may select a standard silhouette that does not match your brand.
Step 2 – Prepare Front and Back Technical Flats
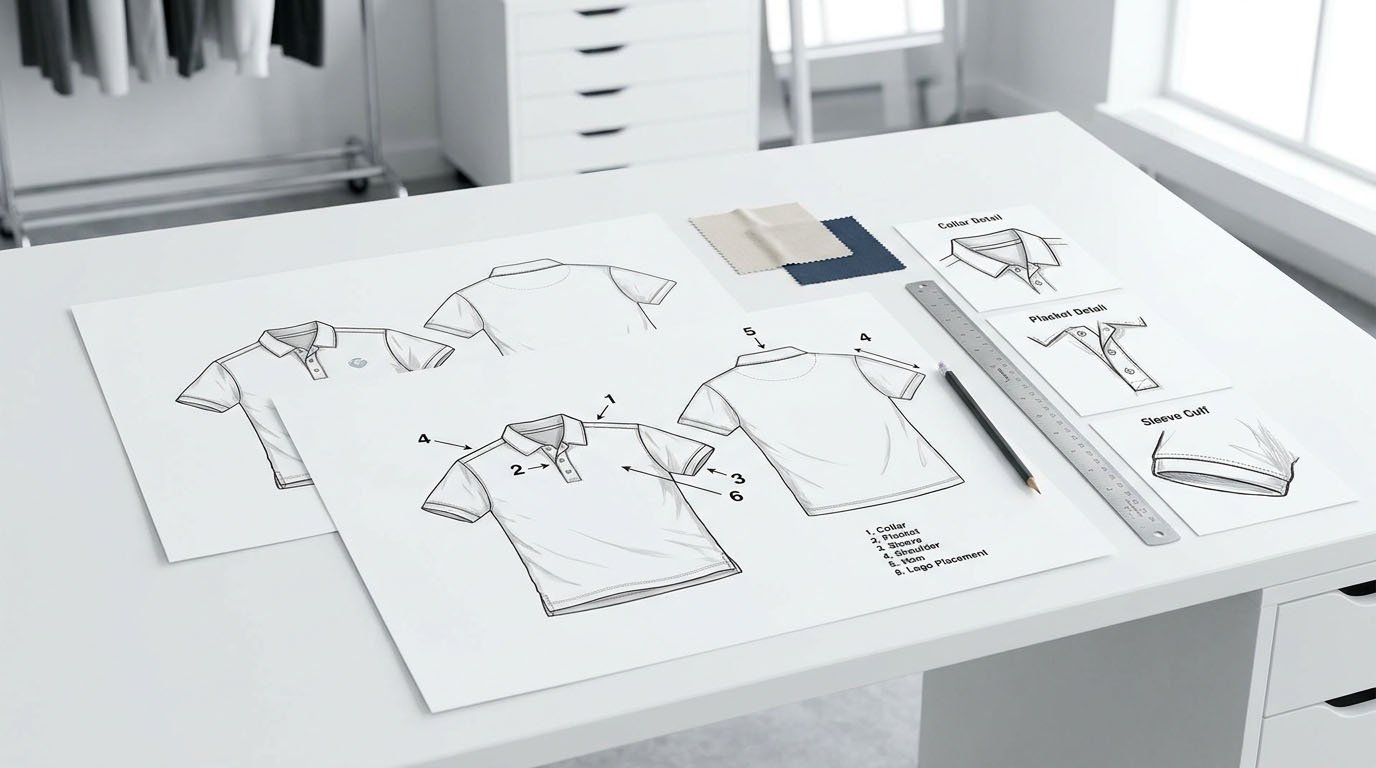
Technical flats are simplified garment drawings showing the design's construction features.
Include front and back views, with close-up drawings for important details.
What Should Your Technical Flats Include?
Label the following components:
- Collar: Type, shape, and finished dimensions
- Placket: Length, width, and button arrangement
- Sleeves: Length, opening, and cuff construction
- Shoulders: Seam placement or special panels
- Hem: Straight or curved, with or without side vents
- Branding: Logo location and decoration method
Use numbered callouts to connect each drawing to its construction specifications.
For example:
C01: Self-fabric collar; shape to match the approved sample.
C02: Three-button placket; finished dimensions defined in the construction sheet.
C03: Side vents with reinforced openings.
Technical flats communicate design intent. The patternmaker develops the production pattern using the approved drawings, measurements, fabric, and construction requirements.
Step 3 – Specify Fabric and Performance Requirements
Golf polo fabrics must balance comfort, mobility, appearance, and durability.
Listing only "polyester fabric" does not provide enough information for accurate sourcing.
Example: Golf Polo Fabric Specification
| Specification | Example Requirement |
|---|---|
| Composition | 90% Polyester / 10% Spandex |
| Fabric Weight | 180 GSM |
| Knit Structure | Piqué |
| Stretch | Four-way stretch |
| Hand Feel | Soft with moderate structure |
| Moisture Management | Performance target to be agreed |
| UV Protection | Tested UPF rating, if required |
| Shrinkage | Tested against project requirements |
These values are examples. A lightweight summer polo may require different specifications from a structured premium golf shirt.
For performance claims, agree on suitable testing methods and acceptance criteria instead of relying on general descriptions.
Confirm Fabric Before Sampling
Ask your manufacturer to review fabric swatches, stretch and recovery, dimensional stability, colorfastness, and decoration compatibility.
FUWAY's golf apparel fabric sourcing service can help brands evaluate suitable materials.
Keep unconfirmed fabrics marked Pending Approval until the final material is selected.
Step 4 – Build the Golf Polo POM Measurement Chart
A point-of-measurement (POM) chart defines the finished garment's target dimensions and how to measure them.
Start with a base size. Establish grading for other sizes after confirming the target fit.
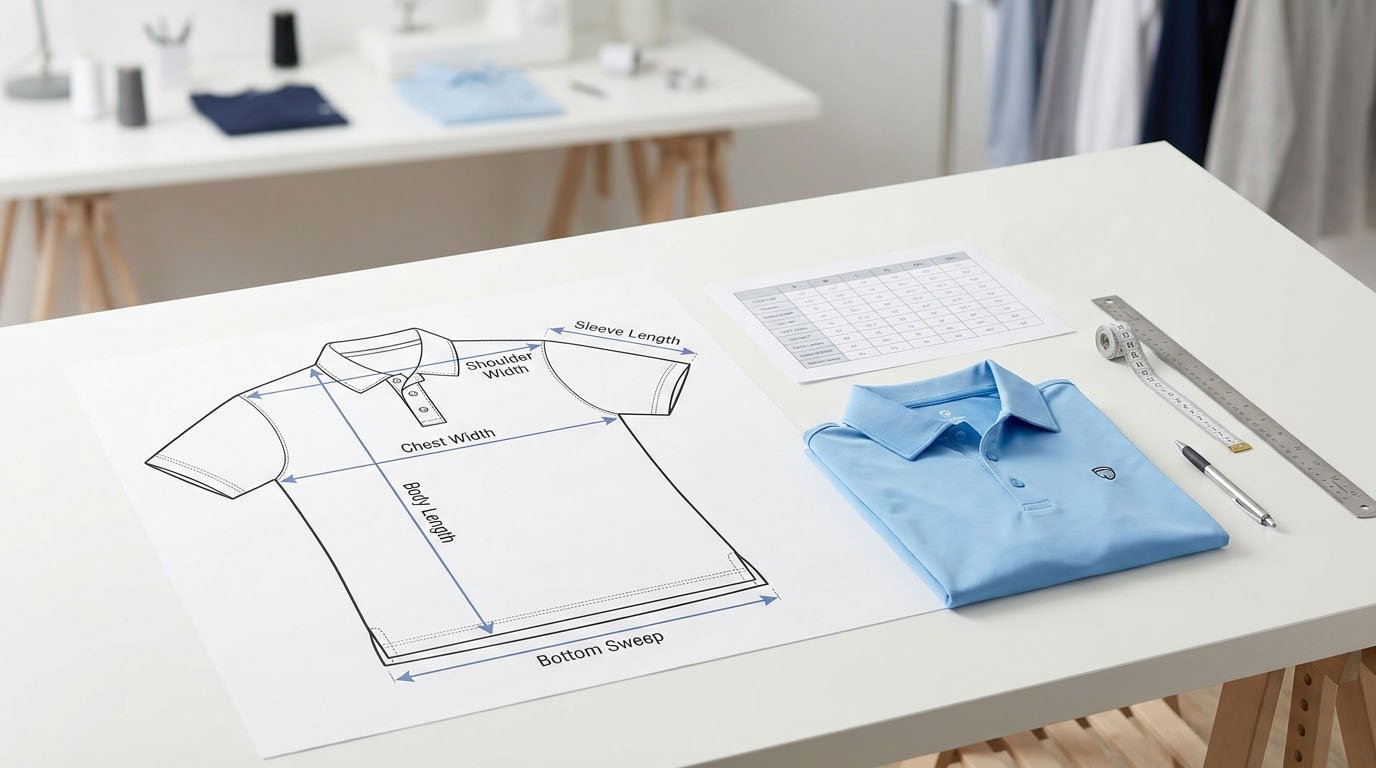
Example: Men's Medium Measurement Chart
| POM | Measurement | Target (cm) | Tolerance |
|---|---|---|---|
| P01 | Chest Width | 53.0 | ±0.5 cm |
| P02 | Body Length (HPS) | 74.0 | ±1.0 cm |
| P03 | Shoulder Width | 45.0 | ±0.5 cm |
| P04 | Sleeve Length | 23.0 | ±0.5 cm |
| P05 | Bottom Sweep | 52.0 | ±1.0 cm |
Illustrative measurements only. Final targets depend on the approved fit and pattern.
At FUWAY, all specified finished-garment measurement points must remain within ±1.0 cm of their approved targets. Individual POMs may have tighter tolerances where required by the confirmed tech pack.
Define Each Measurement Method
A measurement chart must explain exactly how each dimension is taken.
For example:
P01 – Chest Width: Lay the garment flat without stretching. Measure horizontally across the chest at the specified point, such as 2.5 cm below the armhole.
P02 – Body Length: Measure from the high point shoulder (HPS) to the finished hem using the approved measuring path.
Add diagrams for measurements that could be interpreted differently.
Do not assume every measurement increases by the same amount between sizes. Grading should follow the approved fit and size specifications.
Step 5 – Create the Golf Polo Bill of Materials (BOM)
The bill of materials lists every component needed to manufacture your golf polo.
It helps the factory source, verify, and track materials throughout development.
Example: Golf Polo BOM
| Component | Specification | Status |
|---|---|---|
| Main Fabric | 90% Polyester / 10% Spandex Piqué | Pending approval |
| Collar | Self-fabric, approved construction | Pending approval |
| Placket | Matching self-fabric | Defined |
| Buttons | Three buttons, size/color to confirm | Pending approval |
| Sewing Thread | Compatible polyester thread | Factory review |
| Neck Label | Custom brand label | Artwork required |
| Care Label | Fiber and care information | Pending approval |
| Packaging | Individual bag and approved label | To confirm |
Add collar supports, reinforcement tape, contrasting panels, or other components when required.
Each BOM item should have a reference code, specification, color, and material reference or approved supplier where available.
Practical tip: Match BOM reference codes with your technical drawings so the factory can identify each component and its placement.
Step 6 – Define Collar, Placket, and Construction Details
Collar shape, placket stability, seam construction, and hem finishing are particularly important for golf polos.
These details influence appearance, comfort, and production consistency.
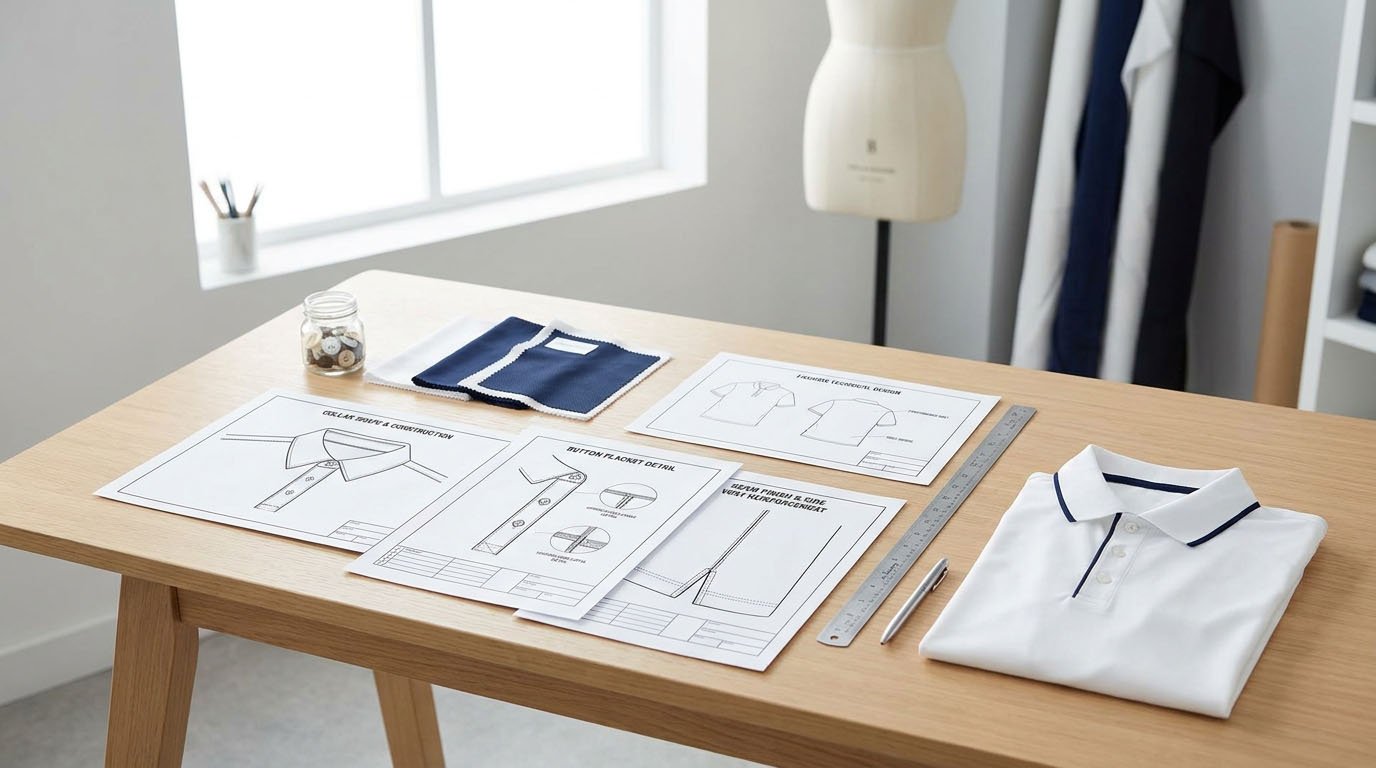
Collar Construction
Specify whether your design uses:
- Self-fabric collar
- Rib-knit collar
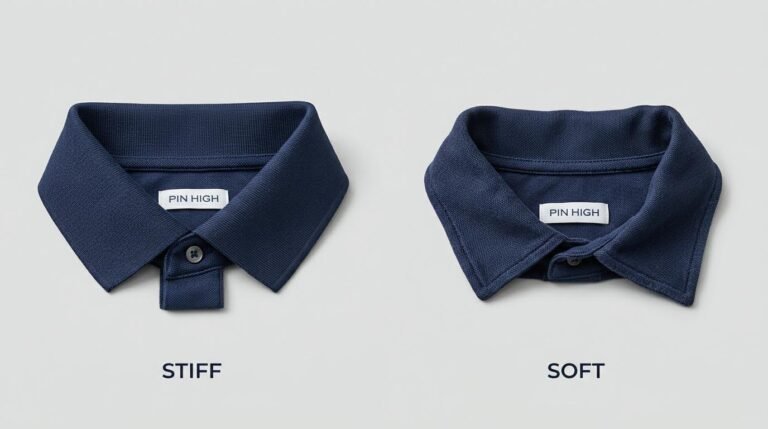
- Structured collar with additional support
- Contrasting collar construction
Document the finished shape, dimensions, stitching, and reinforcement requirements.
Not every collar needs interfacing. The appropriate construction depends on fabric properties, design, and sample evaluation.
Placket and Seam Specifications
| Detail | Example Instruction |
|---|---|
| Placket | Finished width 3.5 cm; length 18 cm |
| Buttons | Three-button arrangement |
| Shoulder Seam | Construction to be approved |
| Side Seam | Compatible stretch construction |
| Sleeve Hem | Approved folded hem finish |
| Side Vent | Reinforced opening; dimensions specified |
The manufacturer should validate these specifications against the chosen fabric and fit.
For more detailed pattern and garment engineering information, see our guide to designing a custom golf polo.
Step 7 – Add Branding, Colorways, and Packaging Instructions
Branding instructions must be precise enough to reproduce consistently.
"Small logo on the left chest" is not an adequate production specification.
Define Logo Placement
For each decoration, document:
- Embroidery, printing, or heat transfer method
- Approved artwork file
- Finished logo width and height
- Color references
- Placement coordinates from defined measuring points
- Application or backing requirements
For example, specify the logo's horizontal distance from the center front and vertical distance from the HPS, with final placement confirmed during sampling.
Specify Colorways and Packaging
Use a colorway sheet to identify fabric colors, collar colors, thread colors, and corresponding logo versions.
Include approved Pantone textile references or physical color standards where applicable.
Packaging instructions may cover folding, individual bags, hangtags, size stickers, barcodes, and carton requirements.
Only include packaging specifications relevant to your project.
Step 8 – Review, Version, and Send the Tech Pack to Your Factory
Before sampling, check for missing information, conflicting instructions, and unresolved approvals.
Every document should display the current version number and revision date.
Maintain a Revision History
For example:
- V1.0: Initial design specifications submitted
- V1.1: Collar shape revised after factory review
- V1.2: Chest measurement adjusted after fitting
- V2.0: Updated specifications following sample approval
When changing measurements, update the POM chart and related drawings. Fabric changes may also require construction or fit adjustments.
What Should You Send Your Manufacturer?
Provide the current tech pack PDF, editable measurement and BOM sheets, artwork files, relevant reference images, and a list of unresolved questions.
The brand defines design intent and approves decisions. The factory verifies materials, pattern feasibility, construction, and sampling requirements.
After the first sample is completed, compare the garment against the current specifications. Our Golf Polo Shirt Sampling Process Guide explains the next approval stages.
Example: A Simple Golf Polo Tech Pack Layout
Organize your tech pack into clearly named sheets so your manufacturer can locate information quickly.
| Sheet | Title | Main Content |
|---|---|---|
| 01 | Style Overview | Style code, fit, size range, version |
| 02 | Technical Flats | Front/back drawings and callouts |
| 03 | Fabric & Color | Material specs and color references |
| 04 | POM & Grading | Measurements, methods, tolerances |
| 05 | BOM | Fabrics, trims, labels, components |
| 06 | Construction & Artwork | Collar, placket, seams, logos |
| 07 | Packaging & Approvals | Packaging and outstanding approvals |
| 08 | Revision History | Changes, dates, approval status |
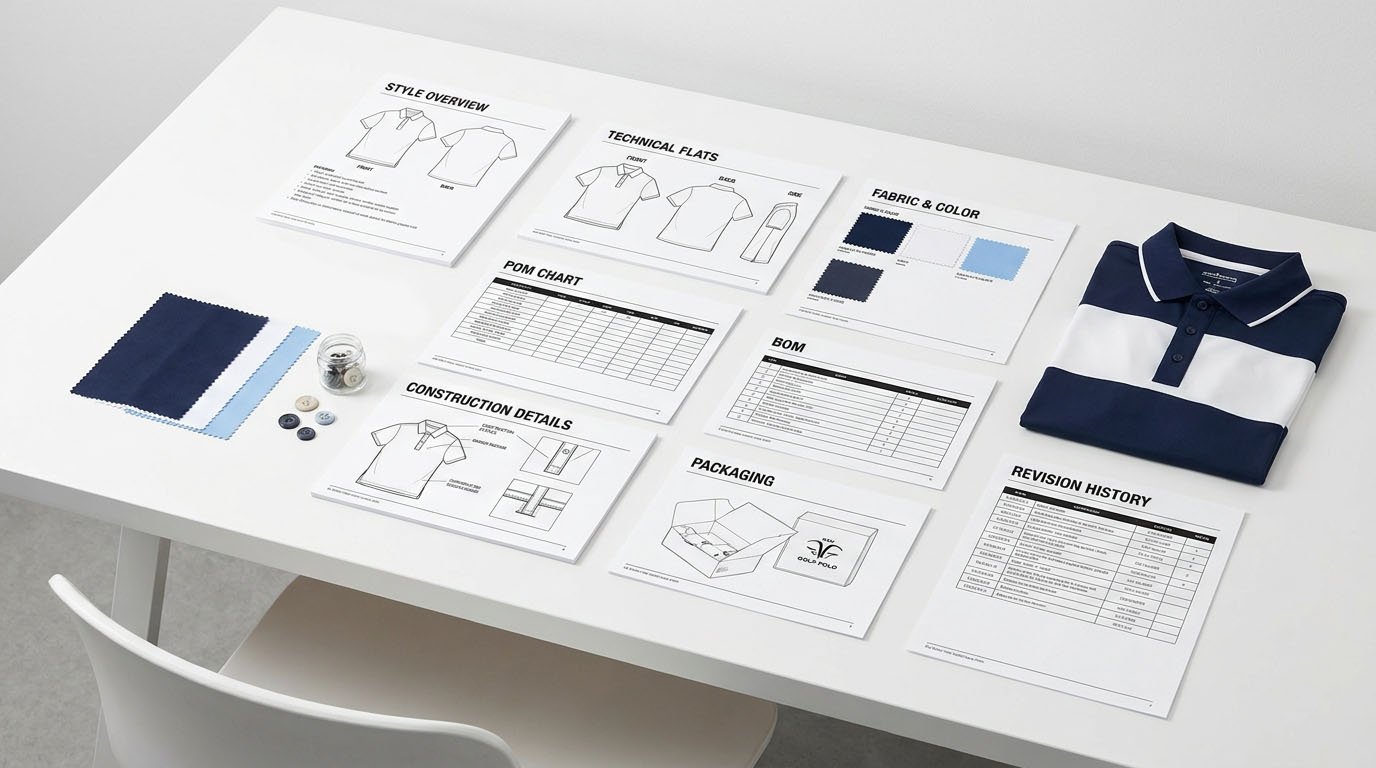
You can combine some sheets if the information remains clear.
Before submitting the file, confirm that the factory can identify the intended style, materials, finished measurements, construction requirements, and approved specifications.
For a broader pre-sampling review, use our Golf Apparel Tech Pack Checklist.
Common Golf Polo Tech Pack Mistakes to Avoid
Even a detailed tech pack can create problems when specifications are unclear.
Avoid these five common mistakes:
- Sending only a mockup: Include technical flats and written specifications.
- Providing incomplete fabric details: Define composition, weight, knit, and performance requirements.
- Omitting measurement methods: Include POM diagrams and approved tolerances.
- Leaving collar or logo details unclear: Specify construction and placement accurately.
- Making undocumented revisions: Update the controlled tech pack whenever specifications change.
The objective is to reduce interpretation while allowing your manufacturer to recommend practical improvements.
Frequently Asked Questions
Can I Create a Golf Polo Tech Pack Without Professional Software?
Yes. Spreadsheets and clear PDF technical drawings can form a functional tech pack. Accuracy and organization matter more than the software used.
Do I Need a Complete Tech Pack Before Contacting a Manufacturer?
Not necessarily. You can begin with design references, target measurements, fabrics, and branding requirements. Your manufacturer can help identify missing technical details before sampling.
Can One Tech Pack Cover Multiple Sizes and Colorways?
Yes, when the core design and construction remain consistent. Use grading and colorway sheets to document variations. Significant design or material changes may require separate specifications.
Should I Update My Tech Pack After Sampling?
Yes. Incorporate approved changes to measurements, fabric, construction, trims, and artwork. The final tech pack should match the approved pre-production sample before bulk manufacturing.
Conclusion
A golf polo tech pack turns your design into clear manufacturing instructions.
Follow these eight steps to define style, fabric, measurements, materials, construction, branding, and factory approvals.
Keep your specifications measurable, document revisions, and work with your manufacturer to resolve technical questions before production.
FUWAY supports brands developing custom golf shirts, from material selection and technical development through sampling and manufacturing.
If you have a golf polo design or an incomplete tech pack, contact FUWAY to discuss your next sampling project.