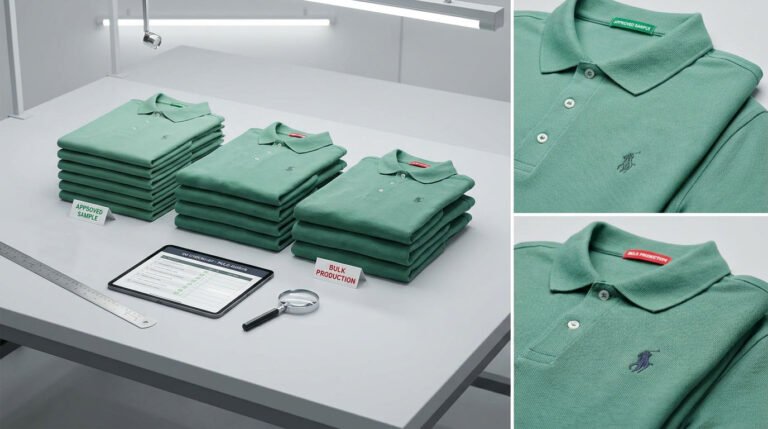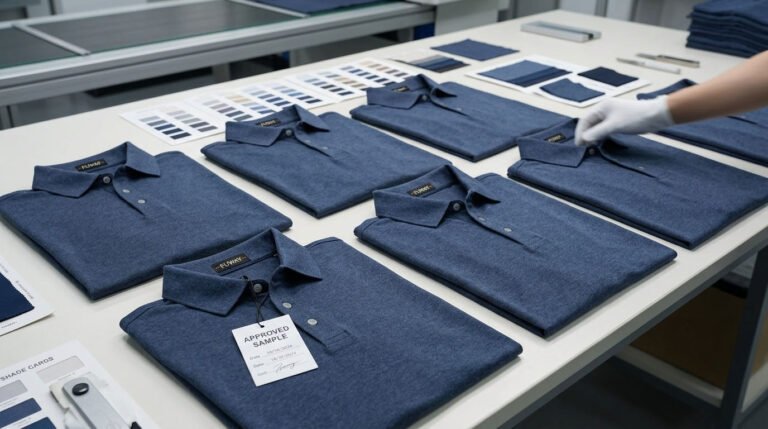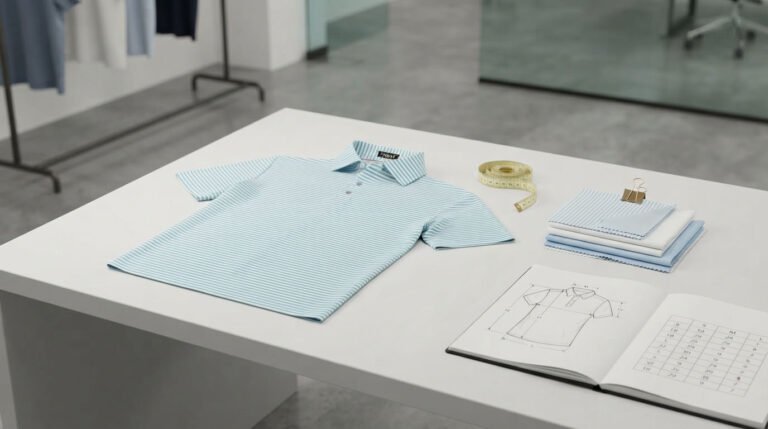
An embroidered logo may look perfect on an approved sample but develop puckering, uneven stitches, or placement errors during bulk production. For golf apparel brands, these problems affect more than appearance—they can also reduce fabric comfort and damage brand consistency.
An embroidery quality control checklist should define what to inspect, how to inspect it, the approved acceptance criteria, and the corrective action required when defects appear. For golf polos, quarter-zips, and other performance garments, the checklist must also consider fabric stretch, embroidery backing, needle damage, and wearer comfort.
This guide explains how to build a practical embroidery QC checklist for sample approval, in-process inspection, and final quality verification.
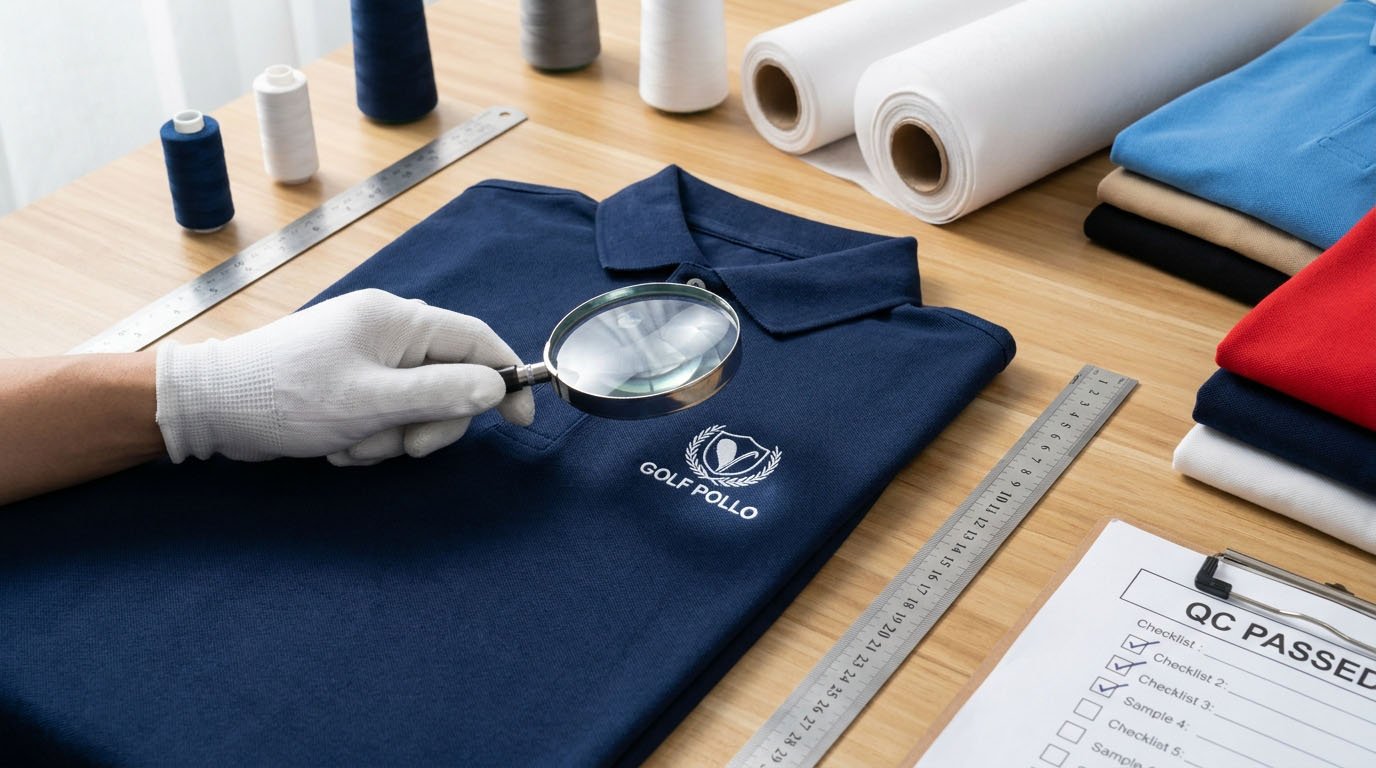
Quick Answer: What Should an Embroidery Quality Control Checklist Include?
A useful embroidery inspection checklist covers eight essential areas:
| QC Item | What to Inspect | Acceptance Reference |
|---|---|---|
| Logo placement | Position, alignment, and orientation | Approved placement specification |
| Logo dimensions | Width, height, and proportions | Approved artwork and sample |
| Thread color | Color consistency across embroidery | Approved thread reference |
| Stitch quality | Gaps, loops, missing stitches, and registration | Approved embroidery sample |
| Fabric puckering | Rippling or distortion around embroidery | Approved appearance standard |
| Backing and finishing | Stabilizer condition, trimming, and comfort | Approved backing specification |
| Fabric integrity | Needle holes, cut yarns, and damaged knit loops | No unacceptable fabric damage |
| Durability | Appearance after agreed washing or stretching | Approved test criteria |
Important: Numeric tolerances should be agreed upon before bulk production. There is no single universal placement or dimensional tolerance suitable for every embroidered logo, fabric, and garment design.
The checklist should be supported by an approved sample, documented inspection results, and a clear process for handling defects.
Step 1: Define the Approved Embroidery Standards
Embroidery inspection begins before the first bulk garment reaches the production line.
The manufacturer and brand must agree on a reference standard that inspectors can measure and compare against.
What Should Be Approved?
Record the following information:
- Logo artwork and file version
- Embroidery dimensions
- Placement reference points
- Thread colors and material
- Approved digitized embroidery file
- Backing and stabilizer requirements
- Stitch appearance and finishing expectations
- Approved physical embroidery sample
For example, an instruction such as "left chest embroidered logo" is not sufficient for consistent production.
A stronger specification identifies the logo dimensions, measurement reference points, orientation, and approved appearance.
These requirements should be documented in the golf apparel tech pack checklist before sampling and production approval.
Use an Approved Physical Sample
A photograph can help inspectors identify a logo, but it may not accurately communicate thread texture, backing softness, or stitch definition.
Where practical, retain an approved physical sample alongside the technical specification.
If the artwork, thread, backing, or fabric changes, confirm whether a new approval is required before continuing production.
Step 2: Check Fabric and Backing Compatibility
Embroidery quality depends on the relationship between the stitching and the base fabric.
Golf apparel frequently uses lightweight polyester, polyester-spandex blends, performance jersey, and piqué knits. These fabrics can react differently to concentrated stitching.
How Do Golf Fabrics Affect Embroidery?
| Fabric Type | Main Embroidery Risk | QC Priority |
|---|---|---|
| Lightweight polyester jersey | Puckering and localized distortion | Surface flatness and needle damage |
| Polyester-spandex knit | Restricted stretch or distorted logo | Stretch compatibility and recovery |
| Piqué knit | Uneven stitch appearance on textured fabric | Stitch definition and coverage |
| Stable, heavier knit | Excess stiffness from dense embroidery | Appearance, hand feel, and comfort |
A design that works on a stable cotton-rich knit may require adjustments when transferred to lightweight performance polyester.
Check Stitch Density and Backing
Excessive stitch density can make embroidery stiff or cause the surrounding fabric to ripple.
Insufficient support may create uneven stitching or distortion during production and laundering.
Inspect whether:
- The embroidery sits flat without unnecessary fabric tension.
- The backing provides adequate stability.
- The finished logo maintains acceptable flexibility.
- The backing does not create uncomfortable edges against the skin.
- Needle penetration has not damaged the base fabric.
Backing selection should be validated through sampling. Cut-away, tear-away, and specialty lightweight stabilizers have different applications; no single backing type is appropriate for every golf fabric.
Why Comfort Matters for Golf Apparel
A chest logo can pass a visual inspection but still feel uncomfortable during a golf swing.
Inspectors should evaluate the reverse side for excessive stiffness, rough backing edges, and localized fabric restriction.
The objective is not simply an attractive logo—it is embroidery that maintains the garment's intended comfort and performance.
Step 3: Inspect Logo Placement and Stitch Quality
Once fabric compatibility is confirmed, inspect the visible embroidery against the approved reference.
Logo Placement and Dimensions
Place the garment flat without stretching it.
Measure logo position using the reference points defined in the technical specification, such as the center front, shoulder seam, or another approved garment landmark.
Check:
- Horizontal and vertical position
- Logo width and height
- Orientation and alignment
- Consistency between inspected garments
Do not estimate placement only by looking at the finished garment.
Acceptance criteria: Compare measurements with the approved embroidery specification. Record actual deviations rather than relying on subjective judgments.
Stitch Quality Inspection
Look closely at the embroidered surface.
Common inspection points include:
- Missing or skipped stitches
- Loose thread loops
- Uneven stitch coverage
- Poorly defined borders
- Misaligned embroidery colors
- Distorted letters or small details
- Visible unwanted bobbin thread
- Fabric distortion around the embroidery
For multicolor logos, inspect registration between adjacent colors and design elements.
Small lettering deserves particular attention because excessive density or unsuitable digitizing can reduce readability.
The approved physical sample should remain the main appearance reference.
Step 4: Inspect the Reverse Side and Finishing
An embroidered logo can appear acceptable from the front while hiding defects on the reverse side.
For performance golf shirts, the inner surface is particularly important because it may contact the wearer's skin.
Reverse-Side Inspection Checklist
Turn the garment inside out and inspect:
- Loose upper or bobbin threads
- Unsecured thread ends
- Excessive thread bunching
- Backing that has shifted or torn
- Sharp stabilizer corners
- Untrimmed jump threads
- Visible fabric damage around needle penetration points
Thread tension should produce stable stitches without excessive loops, thread pull-through, or fabric distortion.
The exact appearance of the reverse side depends on the stitch type and embroidery setup. Inspect against the approved sample rather than applying one fixed bobbin-thread ratio to every design.
Inspect Needle Damage
Fine-gauge knits and stretch fabrics can suffer damage when the needle, thread, or embroidery setup is unsuitable.
Gently examine the fabric surrounding the design for holes, cut yarns, or runs.
Where appropriate, carefully stretch the area to reveal defects that may be less visible when the fabric is relaxed.
Fabric damage should not be accepted simply because the embroidery looks attractive.
Step 5: Set Measurable Acceptance Criteria
A checklist becomes useful only when inspectors understand what constitutes an acceptable result.
Statements such as "logo looks good" or "stitches should be neat" are too subjective for reliable bulk inspection.
Embroidery Acceptance Criteria Matrix
| Inspection Parameter | Acceptance Requirement | Inspection Method |
|---|---|---|
| Placement | Within approved project tolerance | Ruler or placement template |
| Dimensions | Match approved artwork within specified tolerance | Measuring tool |
| Thread color | Consistent with approved reference | Controlled visual comparison |
| Stitch coverage | No unacceptable gaps or missing stitches | Close visual inspection |
| Puckering | Within approved appearance standard | Flat-surface inspection |
| Fabric integrity | No unacceptable holes or cut yarns | Visual and gentle stretch check |
| Backing | Correct material and acceptable finishing | Reverse-side inspection |
| Durability | Pass agreed performance requirements | Approved test procedure |
These are inspection categories, not universal numerical standards.
The brand and manufacturer should establish project-specific limits during development and confirm them against the approved embroidery sample.
Classify Embroidery Defects
Defect severity should reflect the impact on product appearance, function, durability, and customer acceptance.
| Defect Level | Example | Typical Response |
|---|---|---|
| Critical | Serious safety-related or legally significant defect, where applicable | Isolate and escalate immediately |
| Major | Incorrect logo, significant puckering, visible fabric damage, or unreadable lettering | Hold affected units for disposition |
| Minor | Small cosmetic trimming issue within an agreed classification | Correct or evaluate under the approved inspection plan |
The examples are illustrative. Final classification must follow the buyer-approved defect catalogue.
AQL limits, sampling levels, and lot acceptance decisions belong to the broader garment inspection plan rather than being automatically assigned to every embroidery defect.
When Should Durability Be Tested?
Where required by the product specification, check how the embroidery behaves after washing or controlled stretching.
Review:
- Post-wash puckering
- Thread color change or bleeding
- Loose or broken stitches
- Backing movement
- Distortion around the embroidered area
Select test procedures and acceptance criteria appropriate to the garment and customer requirements.
Step 6: Inspect Embroidery at Three Production Stages
A successful embroidery sample is an important reference, but it does not guarantee consistent bulk production.
Different machine heads, fabric lots, hooping conditions, or thread handling can affect results.
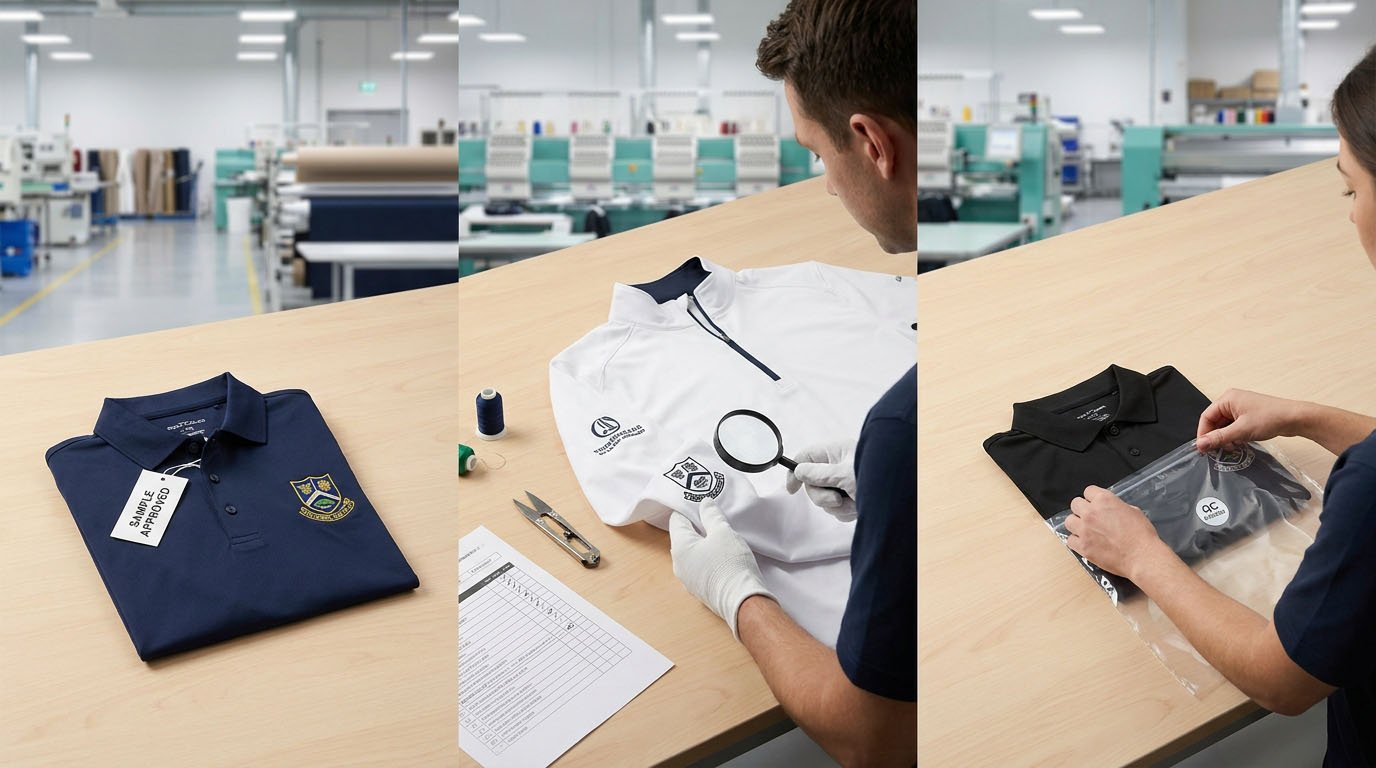
Stage 1: Pre-Production Approval
Before bulk embroidery begins, confirm:
- Final artwork and digitizing version
- Approved thread colors
- Actual or approved production fabric
- Backing suitability
- Logo placement
- Appearance and comfort
The purpose is to establish the standard against which production will be inspected.
For a broader explanation of sample development and approvals, see FUWAY's golf apparel sampling process.
Stage 2: In-Process Inspection
Inspect the initial production pieces and continue checking at planned intervals.
Where multiple embroidery heads are used, the inspection plan should account for differences between machines or heads.
Monitor:
- Logo placement consistency
- Thread tension and stitch formation
- Puckering
- Backing position
- Needle damage
- Color and design consistency
If repeated defects appear, hold the affected output and investigate before continuing.
Stage 3: Final Embroidery Inspection
Before the embroidered garments proceed to shipment approval, review representative pieces from the production lot.
Inspect finished logo appearance, placement, trimming, backing, and any agreed durability requirements.
Embroidery inspection does not replace the overall garment inspection. Measurements, sewing quality, labels, packaging, and shipment readiness should be covered separately in the golf apparel factory QC checklist.
Step 7: Record Defects and Verify Corrective Actions
Identifying a defect is only the first part of quality control. Inspectors must also document what happened and verify that corrective actions worked.
Common Embroidery Defects and Corrective Actions
| Defect | Possible Cause | Recommended Action |
|---|---|---|
| Puckering | Excessive density, unsuitable backing, or hooping tension | Review density, stabilizer, and hooping setup |
| Loose stitches | Incorrect thread tension or thread-feed issue | Check machine setup and reinspect |
| Misaligned logo | Incorrect positioning or inconsistent hooping | Verify reference points and placement template |
| Needle holes | Unsuitable needle or excessive needle penetration | Review needle selection, digitizing, and fabric compatibility |
| Distorted lettering | Inappropriate digitizing or fabric movement | Review stitch design and stabilization |
| Rough backing | Unsuitable backing or poor trimming | Improve backing selection or finishing |
Corrective actions should be evaluated before restarting or releasing affected production.
What Should Be Included in the QC Record?
A useful embroidery inspection record contains:
- Purchase order and style number
- Inspection date and production stage
- Artwork or specification version
- Inspected quantity
- Defect type and affected quantity
- Photos or measurements
- Corrective action taken
- Reinspection result
- Inspector or authorized approver
If a defect affects multiple garments, record the affected production lot or machine group where traceability is available.
This provides evidence for both current shipment decisions and future repeat orders.
Frequently Asked Questions
What Is the Most Important Part of an Embroidery Quality Control Checklist?
The most important requirement is an approved, measurable reference. Without agreed artwork, placement, dimensions, and workmanship criteria, inspectors cannot consistently determine whether embroidery is acceptable.
What Causes Puckering Around Embroidered Logos?
Common causes include excessive stitch density, unsuitable stabilizers, incorrect hooping tension, and incompatibility between embroidery construction and fabric stretch.
The cause should be investigated rather than assuming that every puckering defect requires the same adjustment.
Should Inspectors Check Both Sides of Embroidery?
Yes. The front reveals appearance and design defects, while the reverse side helps identify thread issues, backing problems, and potential discomfort against the skin.
Does an Approved Embroidery Sample Guarantee Bulk Quality?
No. The sample establishes an acceptance reference, but differences in machine settings, materials, and production handling may cause variation. In-process and final inspections are still necessary.
Conclusion
Building an effective embroidery quality control checklist requires more than inspecting whether a logo looks attractive.
For golf apparel brands, the process should combine approved artwork, measurable placement criteria, stitch quality inspection, fabric compatibility, backing comfort, and documented defect handling.
A practical system follows three stages: approve the sample, monitor production, and verify the finished embroidery.
At FUWAY, we support custom embroidery for golf polos, quarter-zips, and other OEM/ODM golf apparel. Our development process focuses on matching embroidered designs with the selected fabric, approved specifications, and bulk production requirements.
If you are developing a custom golf apparel collection and need to evaluate embroidery quality before bulk production, contact FUWAY to discuss your logo artwork, fabric, and sampling requirements.